This step-by-step guide walks you through downloading, installing, and connecting in minutes.
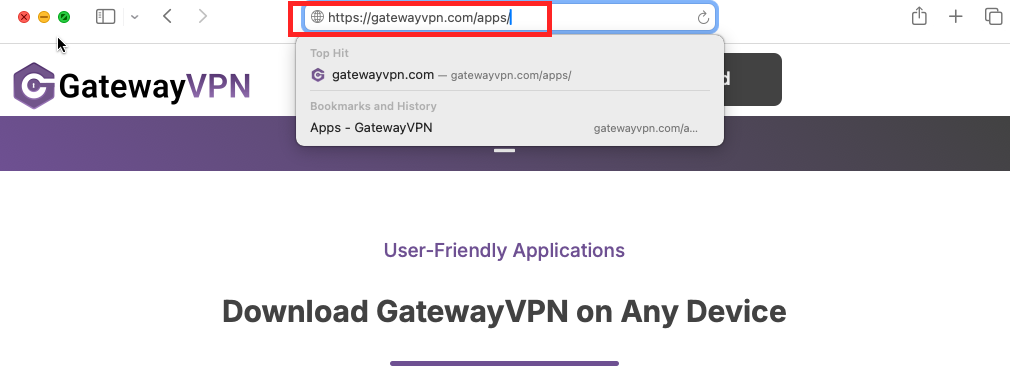
- Open Safari or your preferred browser and go to: https://gatewayvpn.com/apps/
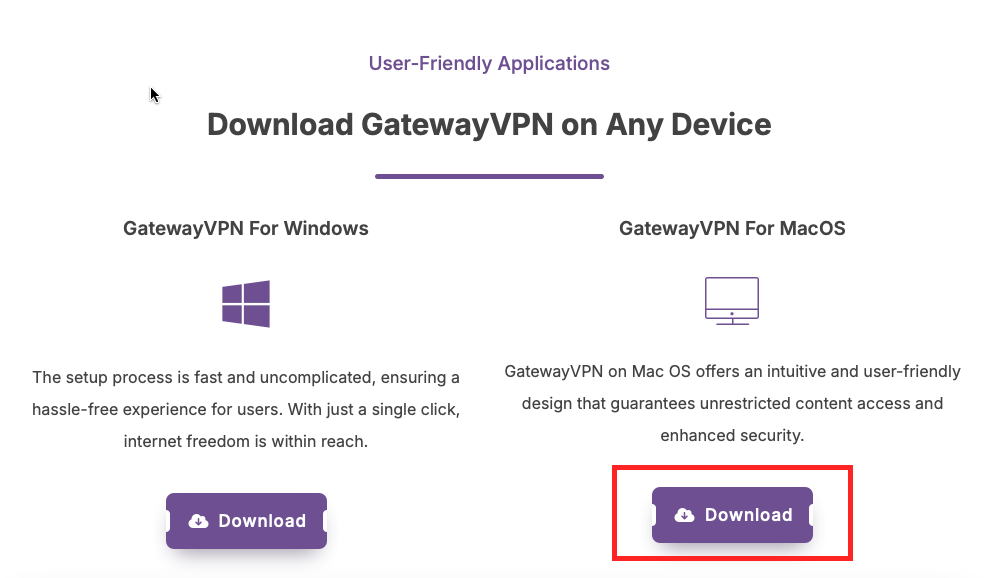
- Scroll to the Mac section and click the Download button.
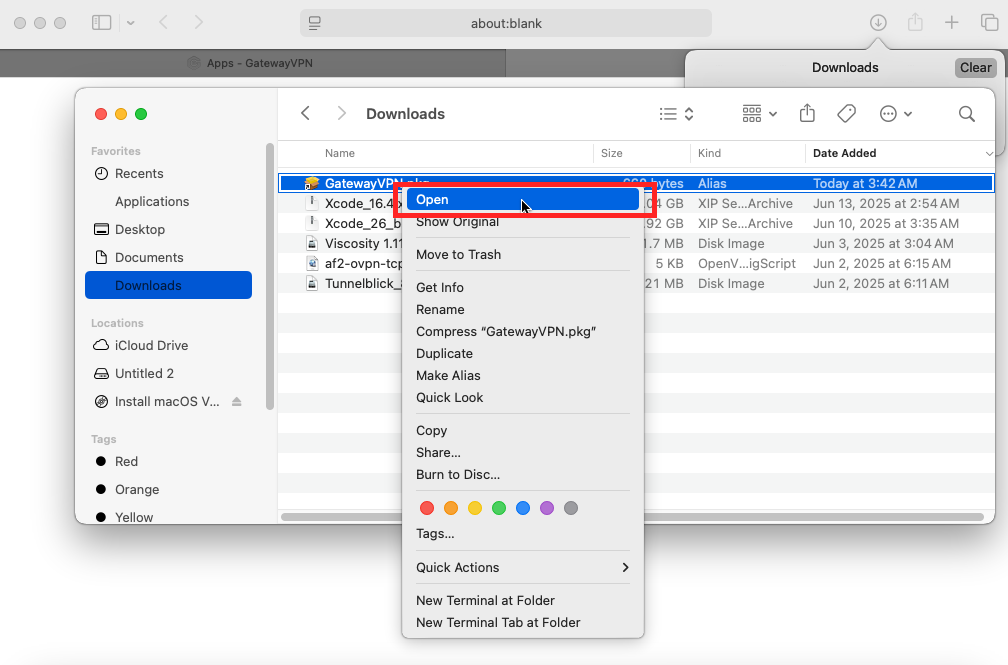
- Double-click the downloaded
GatewayVPN.pkgfile.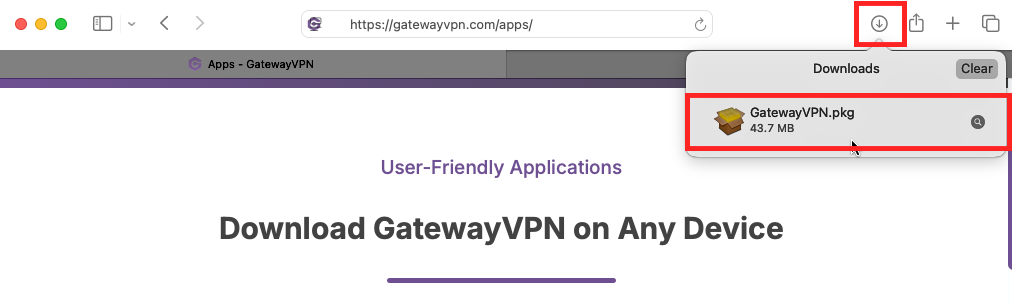
- Alternatively, right-click the downloaded file and then click Open.
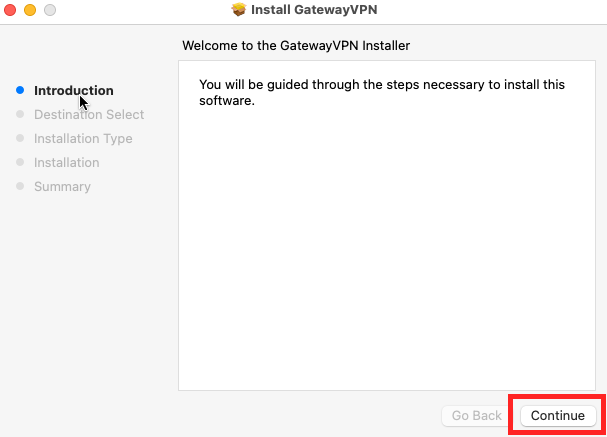
- In the installation wizard, click Continue.
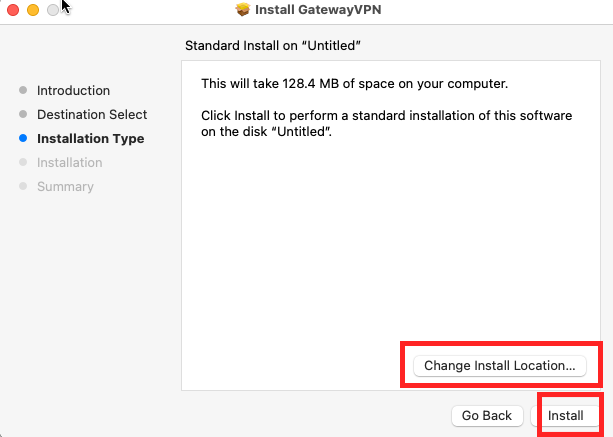
- On this screen, you have the option to change the installation location. Then click Install.
- Next, input your Mac credentials and click Install Software.

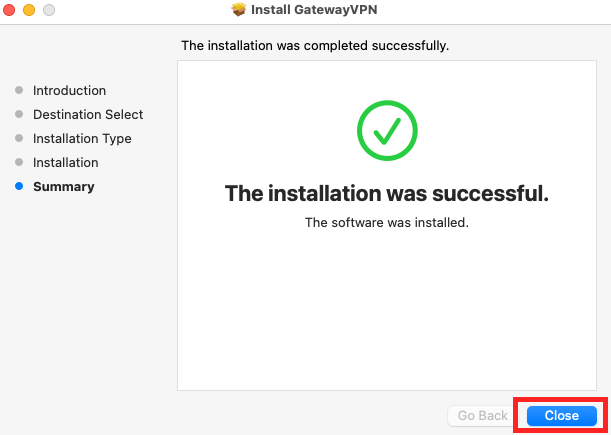
- Once the installation is complete, you can click Close. The GatewayVPN MacOS app will open automatically after installation.
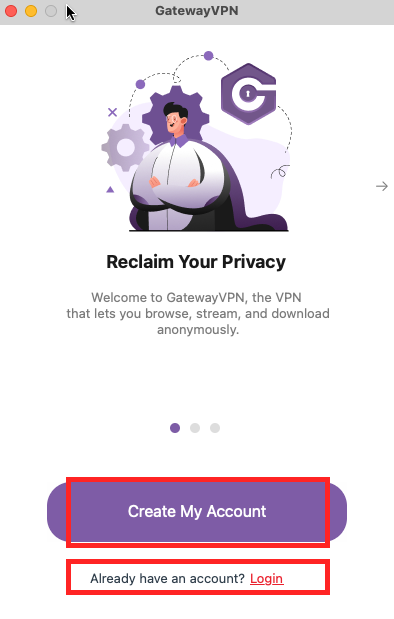
- Next, you’ll need to create an account or log in if you already have one.
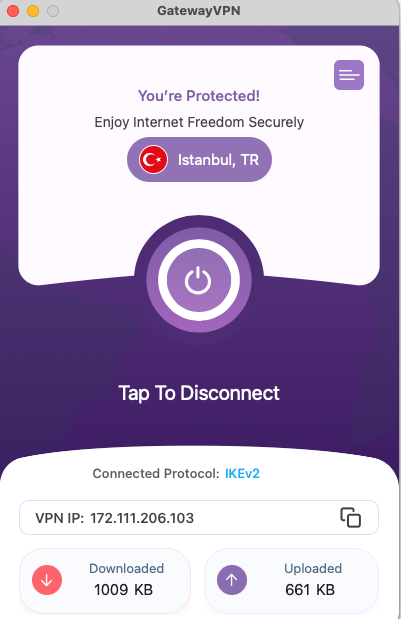
- Once logged in, you can choose a server from the locations menu or connect to the fastest VPN server based on your current location.
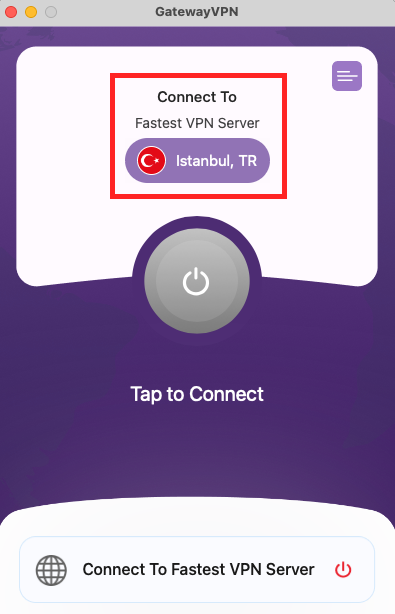
- Your connection is now secure and encrypted by GatewayVPN.